
How to Find the Source of a Suspension Knocking or Clunking Noise
A knocking or clunking noise from the suspension is one of the hardest vehicle faults to
pin down. It may only appear over speed bumps or potholes, at a certain speed, under
braking, or when one wheel moves independently of the other. A road test confirms that
the noise exists, but it rarely tells you which part is making it.
This guide covers the common causes, how to narrow them down by when the noise occurs, and how to confirm the faulty component before you replace anything.
This guide covers the common causes, how to narrow them down by when the noise occurs, and how to confirm the faulty component before you replace anything.
What does a knocking suspension sound like?
The same fault is described in many ways: knocking, clunking, tapping, rattling, clicking,
creaking, thudding or metallic banging. The description is a useful starting point, but
several different parts can make very similar sounds, so sound alone rarely identifies the
culprit.
Common causes of a knocking or clunking suspension
Most suspension knocks come from a worn, loose or damaged component.
Anti-roll bar drop links
Also called stabiliser links. Worn drop links are a common cause of knocking over bumps,
particularly when one side of the suspension moves independently of the other.
Anti-roll bar bushes
Worn or damaged bushes can cause knocking or creaking on uneven surfaces and during
low-speed manoeuvres.
Wishbone (control arm) bushes
A worn bush lets the arm move too much, which can produce a clunk under braking, under
acceleration or over bumps.
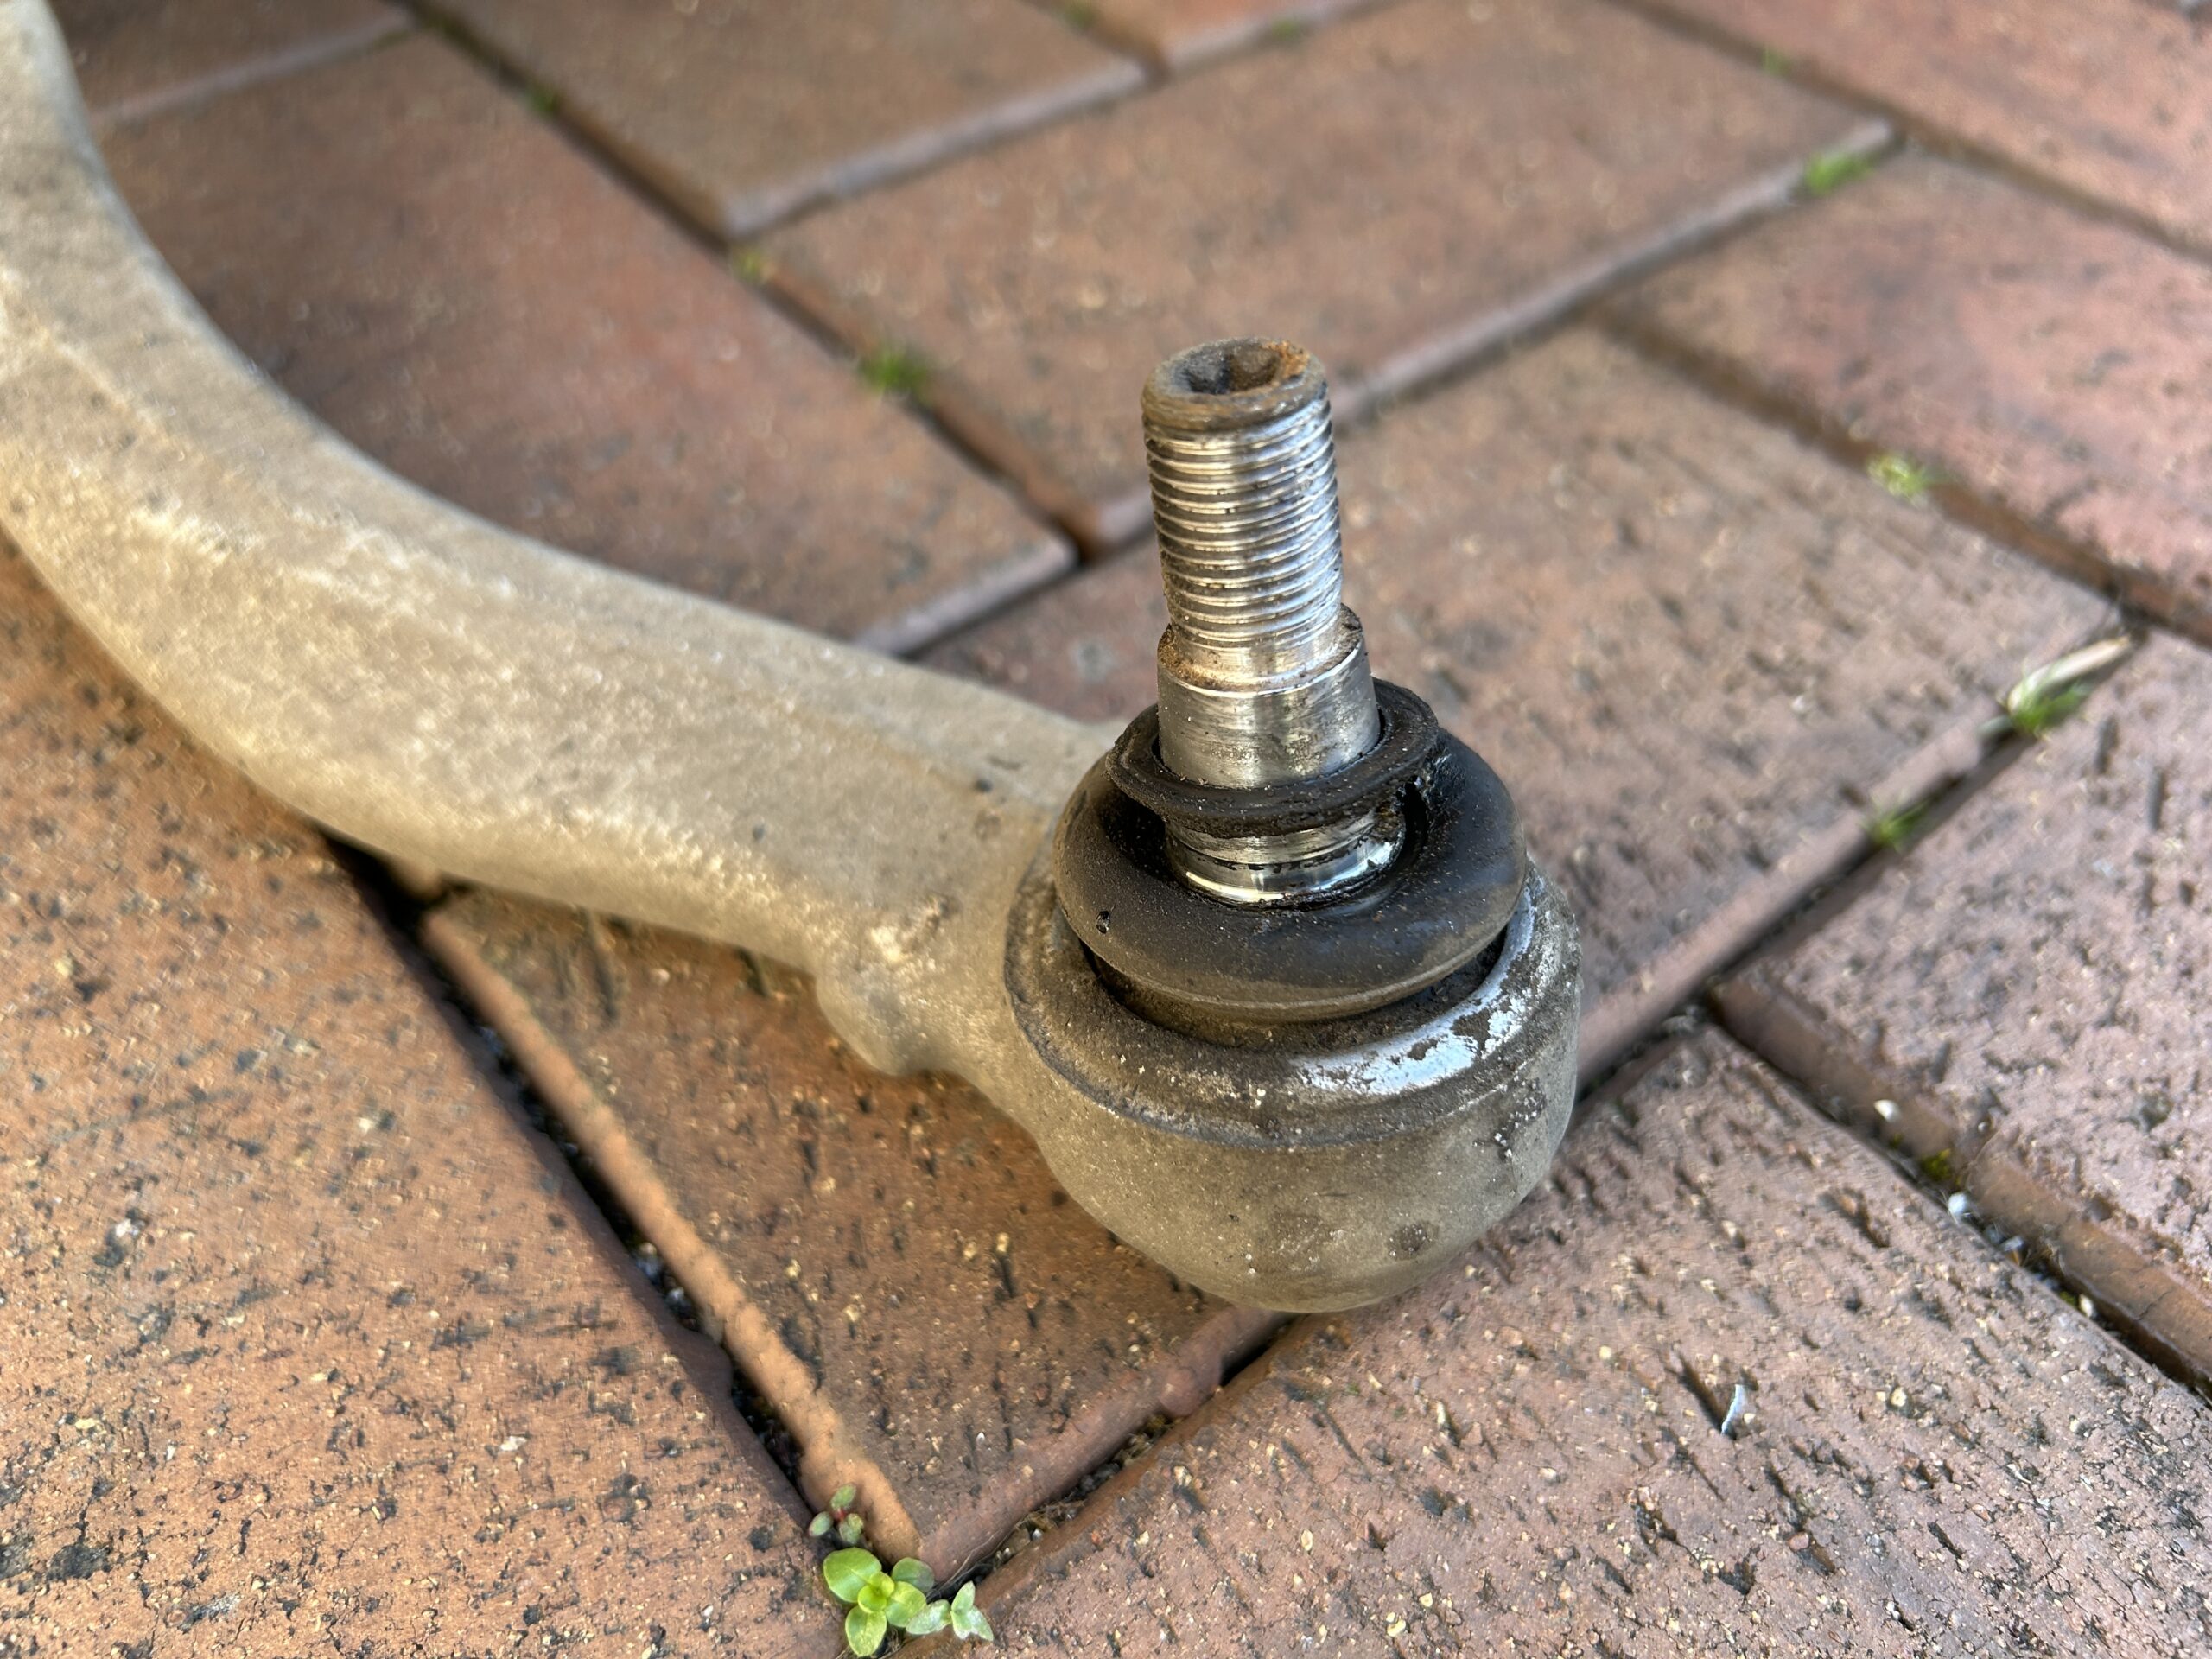
Ball joints
A worn ball joint can knock or click, and may also affect steering feel and wheel alignment.
Shock absorbers, top mounts and strut mounts
A damaged damper, top mount or mounting hardware can knock or rattle, especially on
uneven roads.
Steering components
Some noises that seem to come from the suspension actually originate in track rod ends
or other steering joints.
Loose or damaged fasteners and brackets
A loose bolt, a damaged bracket or an incorrectly fitted part can cause an intermittent
knock.
Diagnose by when the noise occurs
Start by reproducing the noise and noting the conditions: speed, road surface, small or
large bumps, one wheel or both wheels, braking, acceleration, cornering, steering input
and vehicle load. Also note whether it comes from the front or the rear of the car. A knock
when one wheel hits a small bump points to different parts than a clunk under braking.
Knock or clunk over bumps, speed bumps and potholes
Most likely: drop links, anti-roll bar bushes, shock absorbers and top mounts, wishbone
bushes and loose fasteners.
Clunk when braking or accelerating
Look at parts that move when load shifts: wishbone bushes, subframe mounts and
bushes, and ball joints.
Clunk when turning or parking
Most likely: ball joints, steering joints and track rod ends, strut and top mounts, and anti-roll bar components.
Inspect the suspension
Once you know the conditions, check the suspected components for excessive play,
damaged or cracked rubber, loose fasteners, damaged mounts, corrosion and signs of
contact between parts. Worn bushes, ball joints and drop links are also common MOT
advisories, so check the last test report.
A workshop inspection often finds obvious faults, but a component can look and feel normal when the car is stationary.
A workshop inspection often finds obvious faults, but a component can look and feel normal when the car is stationary.
Why an intermittent suspension knock is hard to locate
The part that sounds loudest is not always the part that is knocking. Vibration travels
through wishbones, subframes, brackets and the bodyshell, so a noise can seem to come
from one corner while it starts somewhere else.
It gets harder when the noise is intermittent, only appears under load, or disappears as soon as the car is on a lift. In those cases a static inspection cannot reproduce the movement that causes the knock, and listening only tells you that something is wrong, not where the vibration begins.
It gets harder when the noise is intermittent, only appears under load, or disappears as soon as the car is on a lift. In those cases a static inspection cannot reproduce the movement that causes the knock, and listening only tells you that something is wrong, not where the vibration begins.
How to locate a suspension knock with vibration sensors
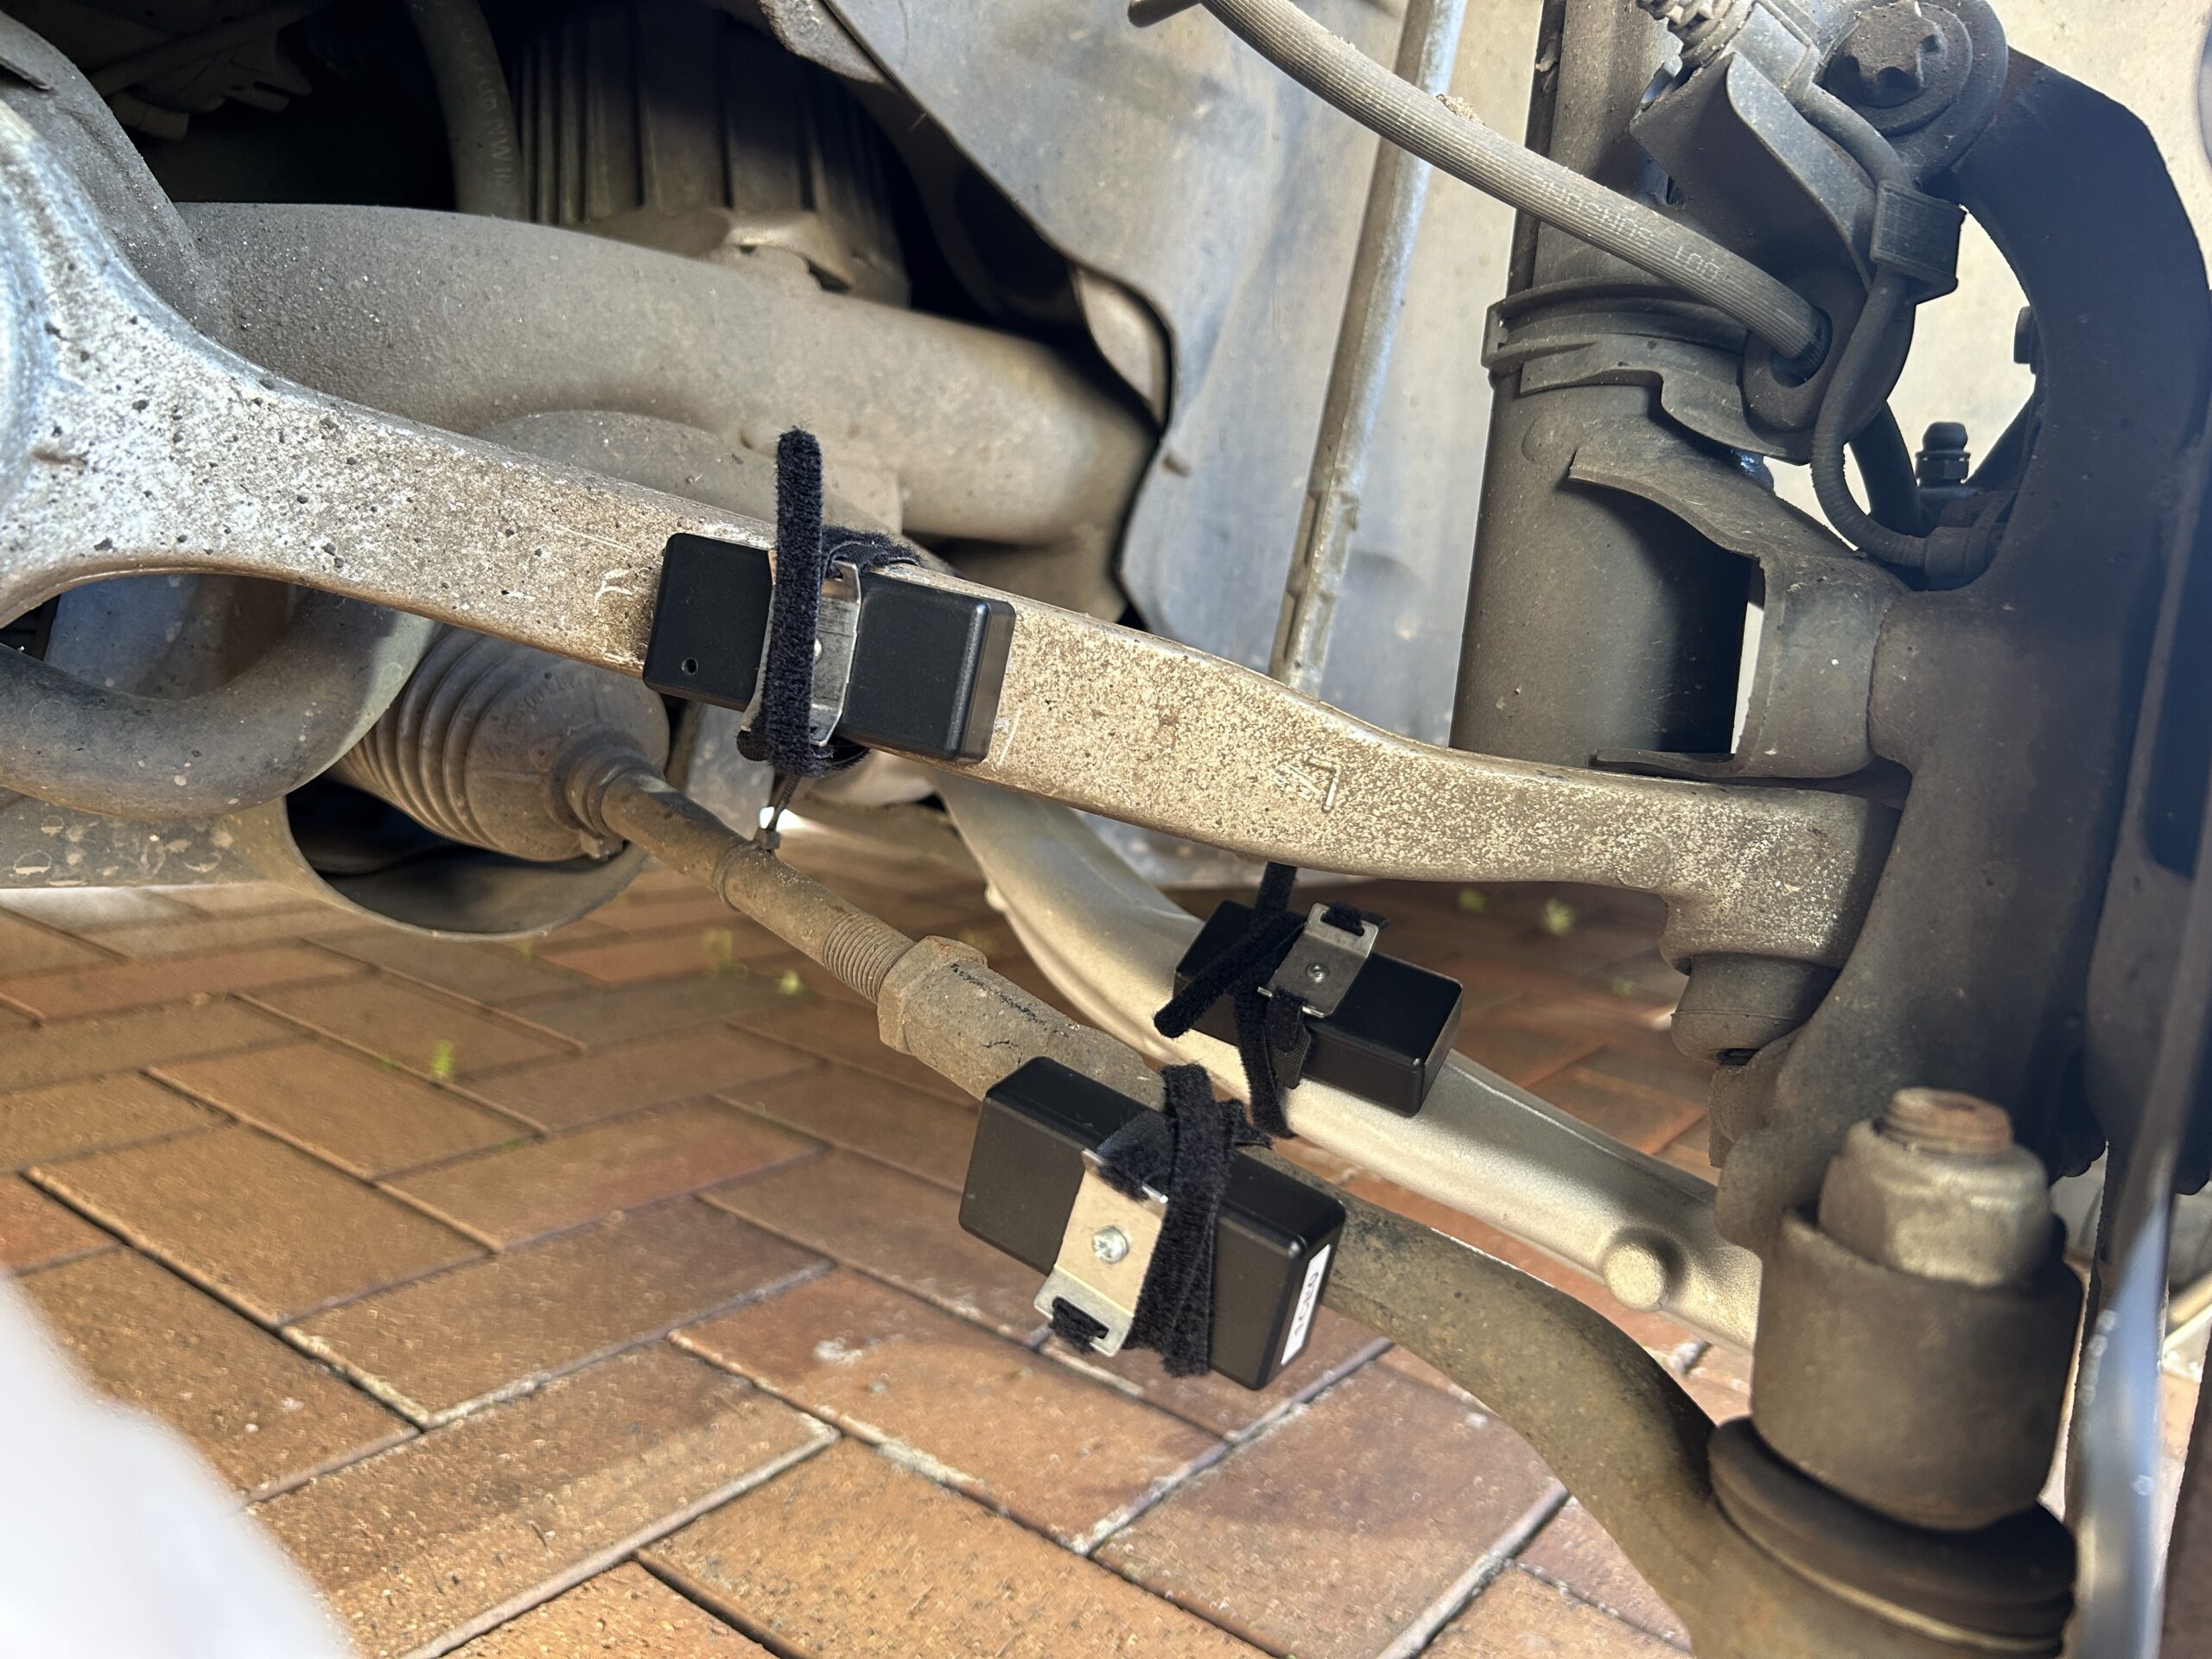
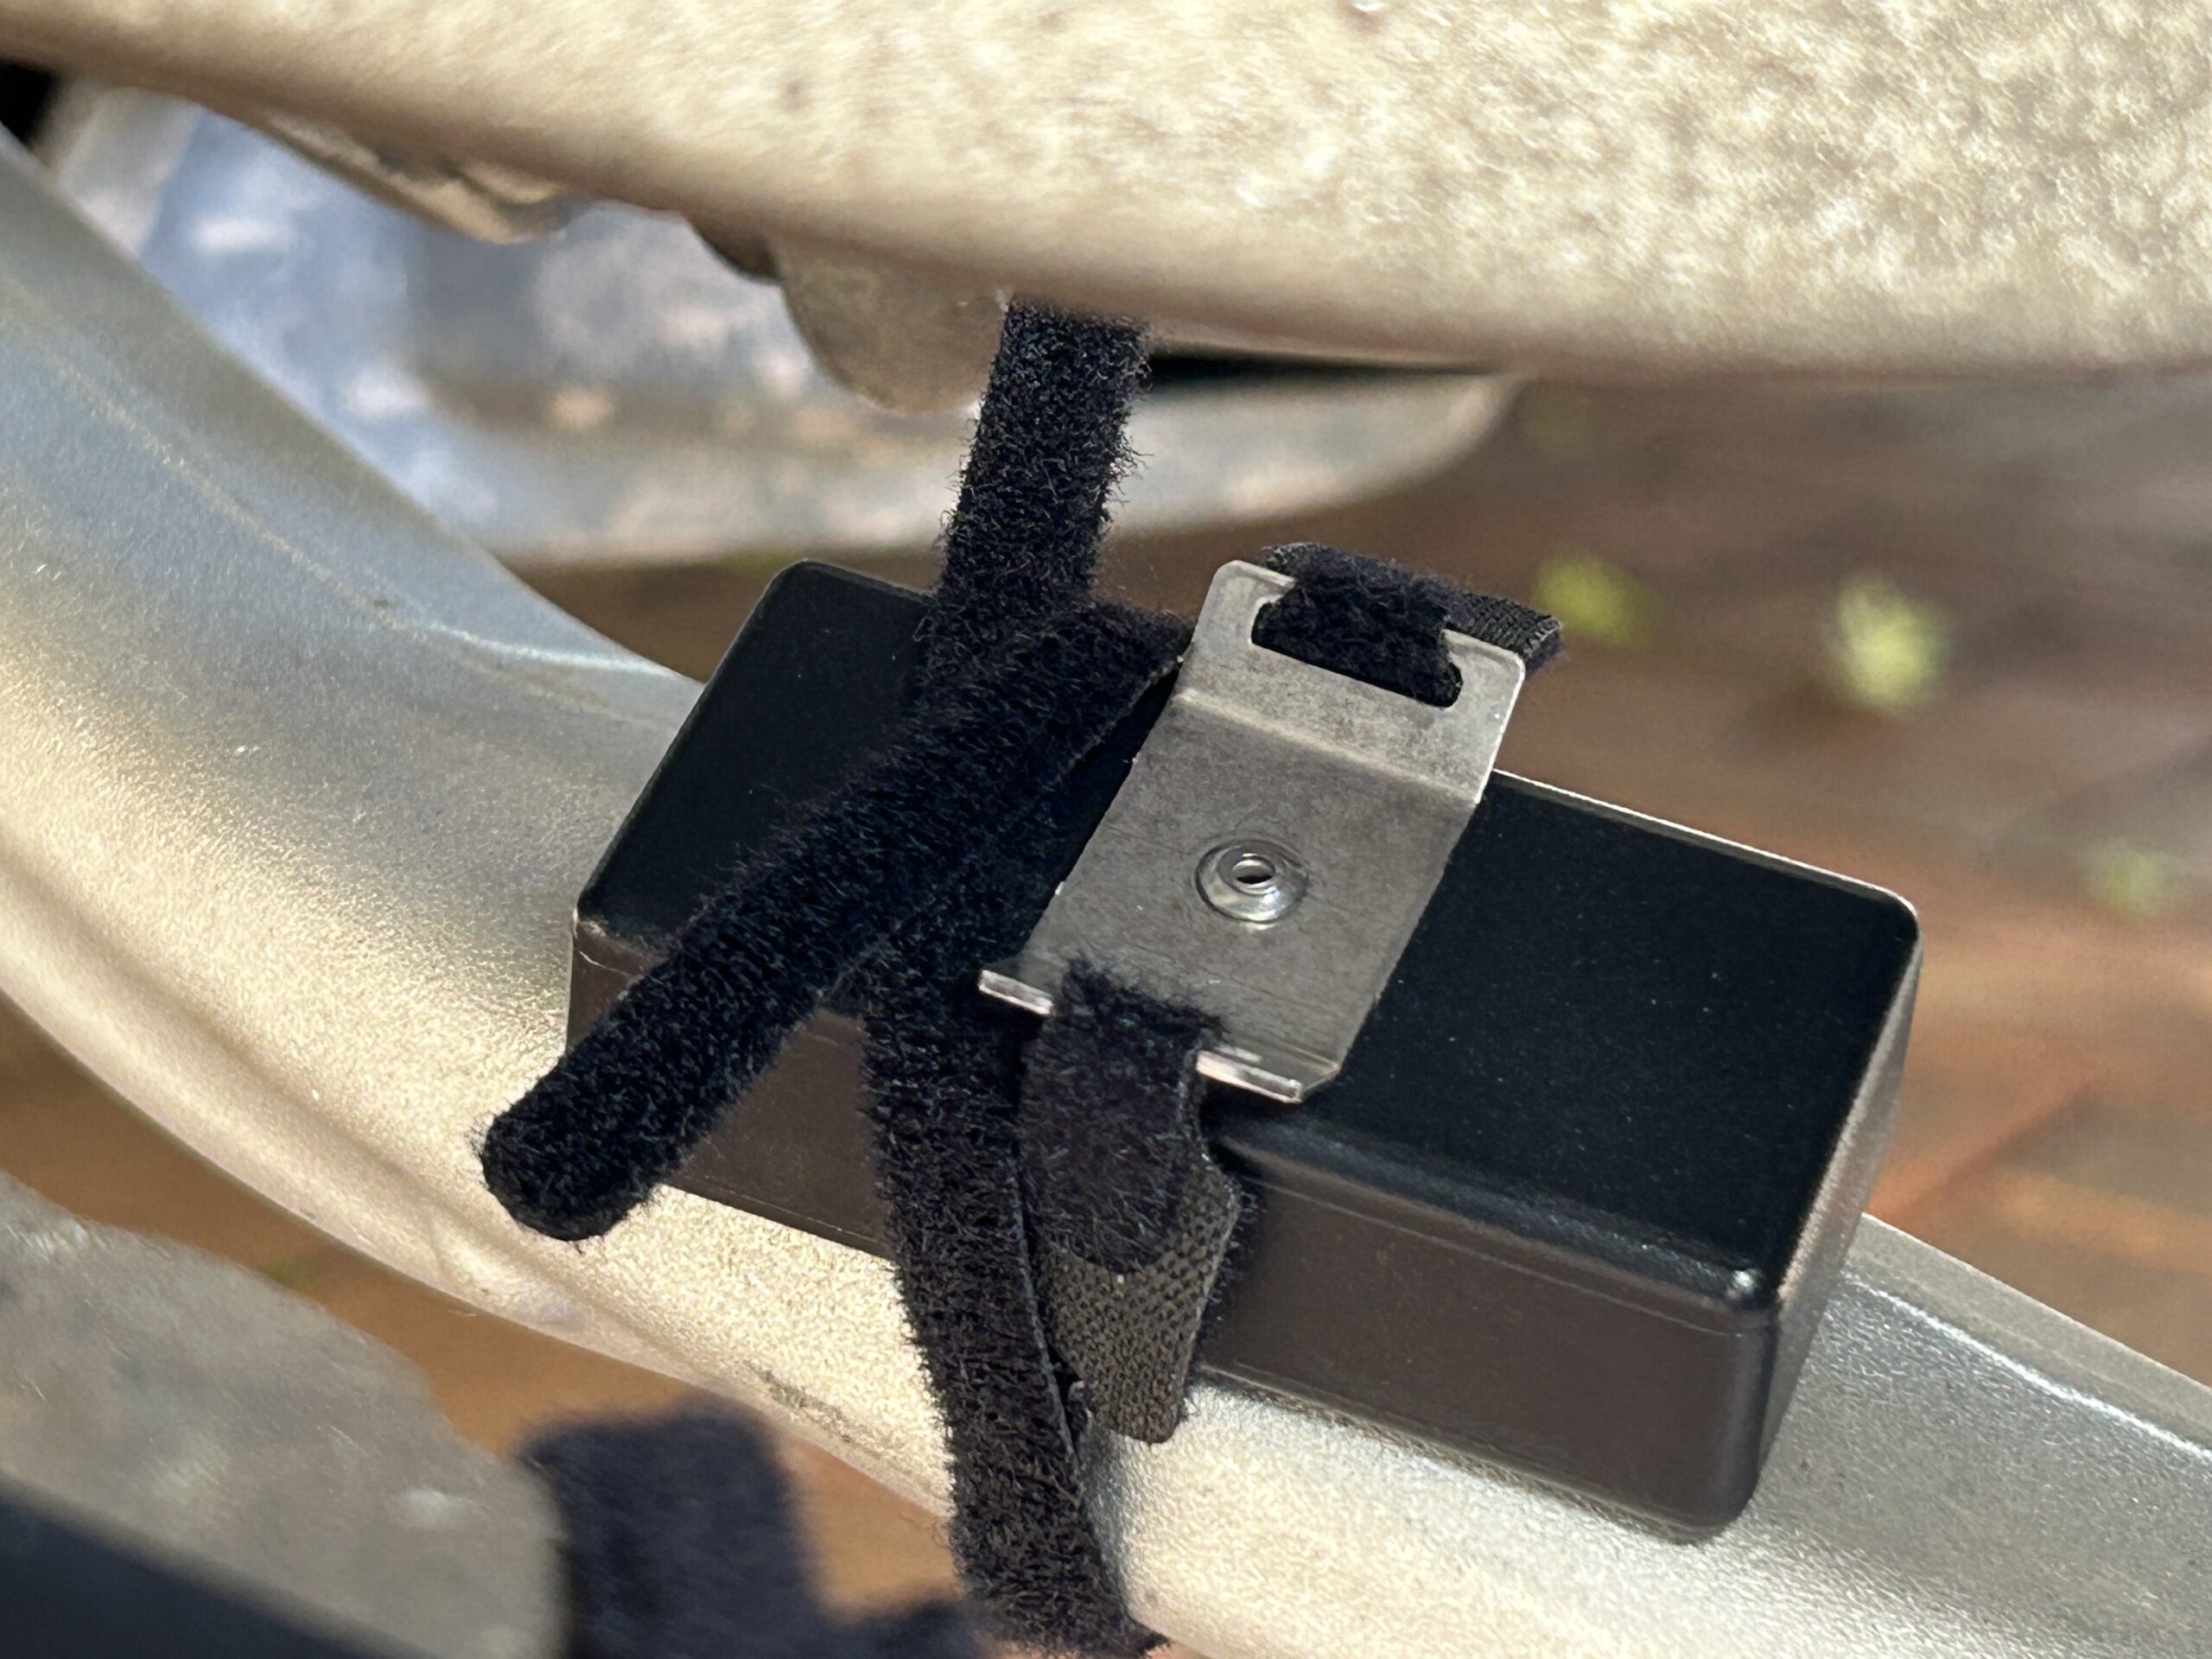
Instead of relying on sound, measure the vibration directly. Attach sensors to different
suspected points, drive the road surface that reproduces the fault, and compare the
signals from the same drive. If one sensor consistently shows a clearly stronger impact at
the exact moment of the knock, that location is your best evidence.
Useful places to fit sensors include:
1. drop links
2. wishbones (control arms)
3. anti-roll bar assemblies
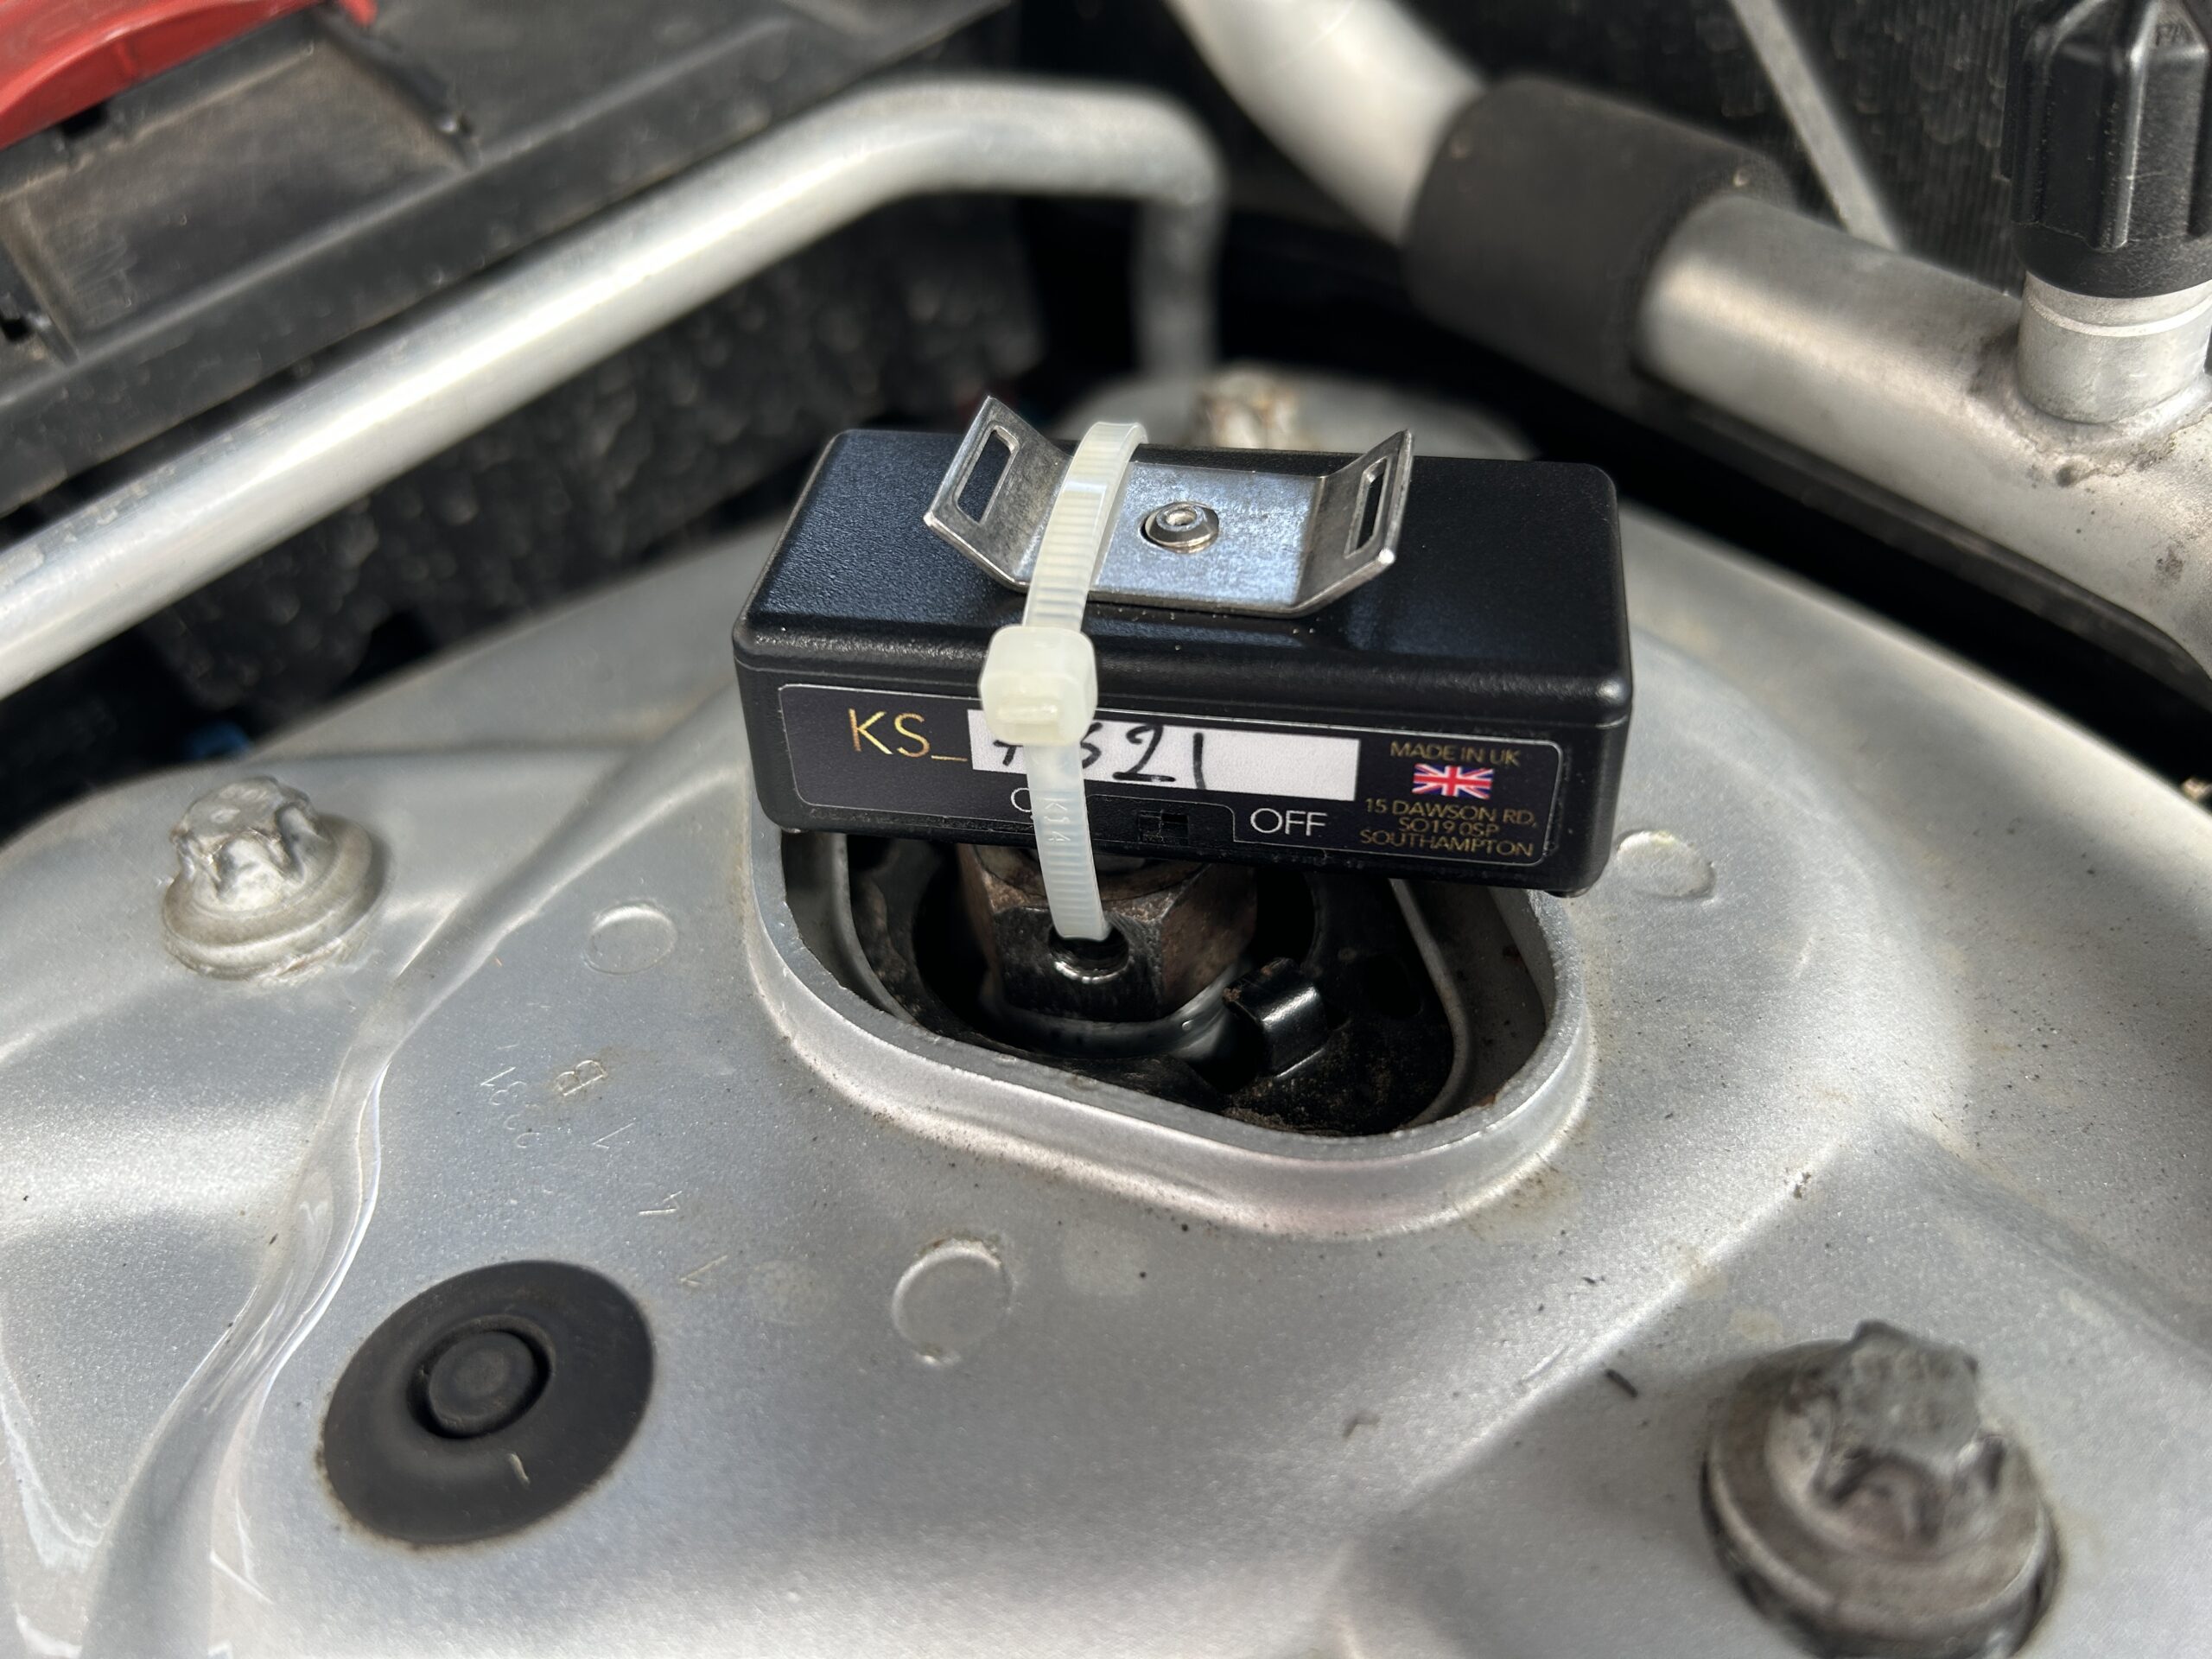
4. suspension and strut mounts
5. subframe areas
1. drop links
2. wishbones (control arms)
3. anti-roll bar assemblies
4. suspension and strut mounts
5. subframe areas
RSensing wireless knock sensors
RSensing wireless knock sensors are battery-powered Bluetooth vibration sensors that
strap onto the components you suspect. The companion app compares up to eight
sensors at once and ranks them by knock count and average amplitude, so you can see
which location reacts most during the same drive. You can also export a PDF report.
Not to be confused with the engine knock sensor fitted to the engine: this is a separate
diagnostic tool for finding mechanical knocks and vibrations elsewhere in the vehicle.
Step by step: confirm the faulty part before replacing it
Replacing parts until the noise stops is expensive and does not prove what was wrong. A
better process:
1. Reproduce the noise.
2. Note the conditions that cause it, including front or rear, speed, surface, braking and steering.
3. Inspect the components most likely to be involved.
4. Shortlist the likely sources.
5. Fit sensors to the shortlisted components and repeat the same road test.
6. Compare the signals and confirm which component produces the strongest impact.
7. Replace only the confirmed part.
The aim is not to find a part that could make the noise, but the one that actually does.
1. Reproduce the noise.
2. Note the conditions that cause it, including front or rear, speed, surface, braking and steering.
3. Inspect the components most likely to be involved.
4. Shortlist the likely sources.
5. Fit sensors to the shortlisted components and repeat the same road test.
6. Compare the signals and confirm which component produces the strongest impact.
7. Replace only the confirmed part.
The aim is not to find a part that could make the noise, but the one that actually does.
Find out which component is knocking
Measure the vibration at the suspected locations and compare the results instead of
guessing.